We continue our monthly gardening blog with a post about January’s garden activities. Happy new year!
January is usually a very cold month with some hard frosts and the ground can become very frozen. Nevertheless, there are some vegetables that can be started under glass and some crops like chillies, peppers and aubergines that benefit from an early start as they are slow to germinate and slow to crop.
What to pick
The following vegetables will be ready now:
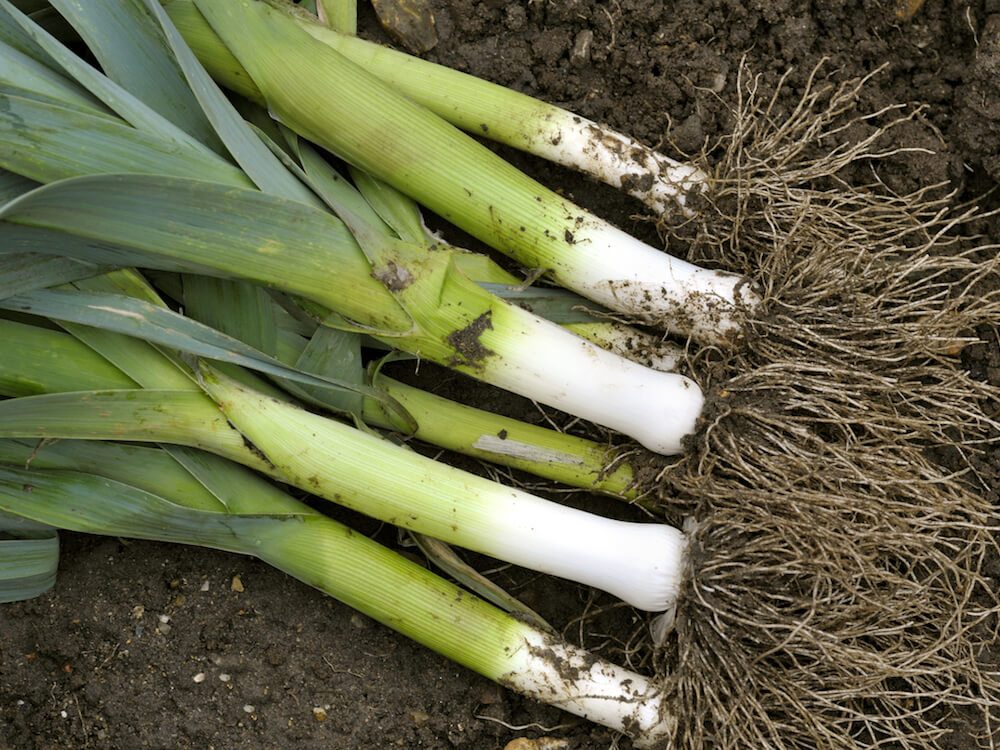
If the ground is not too hard you can lift celery, leeks, parsnips and Jerusalem artichokes as required. Celery may need extra protection if the weather is severe.
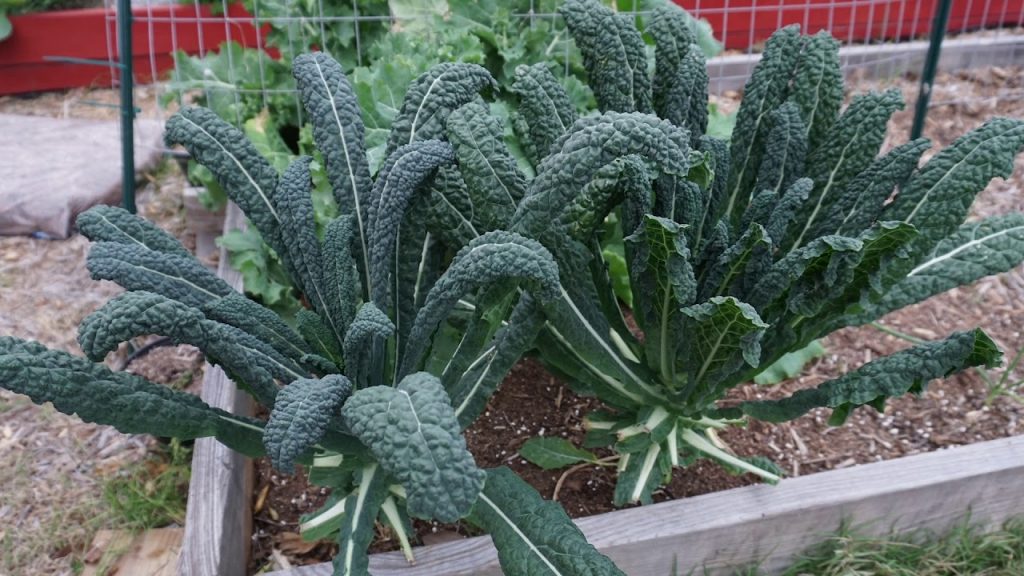
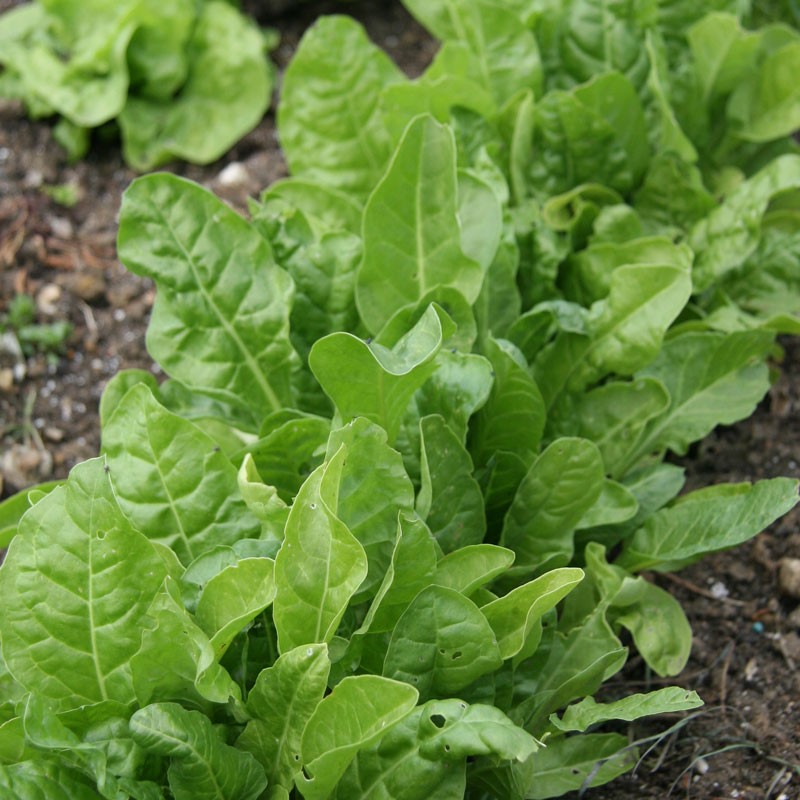
Also, brussels sprouts, spinach beet, winter cabbages and savoys. If you have not ever grown spinach beet (called perpetual spinach on the seed packet) I recommend you give it a try. If I had to pick one vegetable/salad crop that I could never be without it is the versatile, delicious, healthy and incredibly hardy spinach beet because if sown for both summer and winter cropping you have it in the garden ready to use all year round. It is high in iron and contains vitamins B and C as well as antioxidants and when the winter months in particular are long there are always healthy fresh greens to either use in cooking or to add to a salad or sandwich. Simply pinch off leaves as you need them and the plant remains unharmed.
What to sow
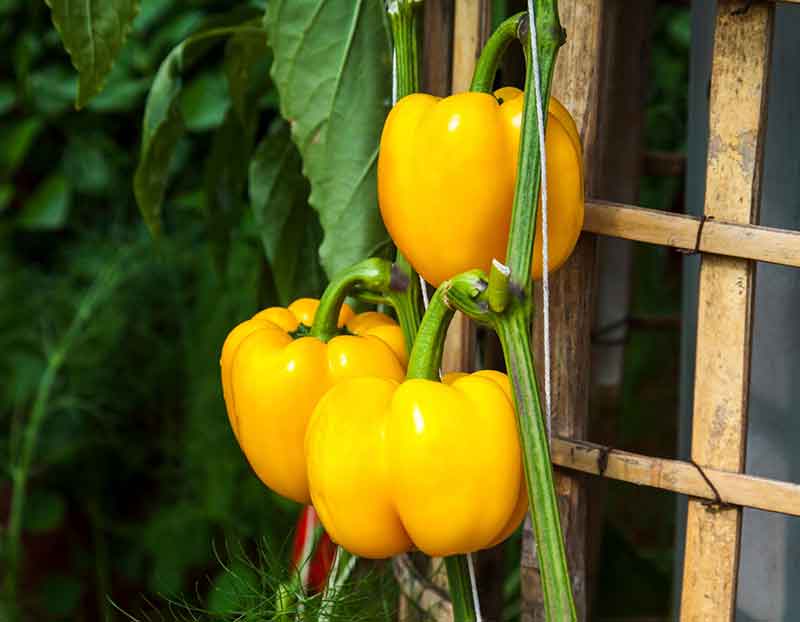
Aubergines, chillies and peppers. Late January is a good time to begin sowing your first batch of aubergines, chillies or peppers if you have a propagator and growing light as they take about 5 months to grow and often the summer warmth and light runs out before the fruits have ripened. Sow 2-3 seeds thinly per small individual pots in multipurpose, peat-free compost, Cover to their own depth with vermiculite. Temperature 21-27°C (70-80°F); germination 3-10 days.
Onion seeds can be sown early at about 15 deg C. Shallots will be larger if grown from seed rather than sets. ‘Red Baron’ are reliable onions and ‘Atlas’ (red) or ‘Creation’ (yellow) give good quality shallots.
Later on, onion sets (which are partly-grown onions) can be planted directly into the ground in early Spring.
Broad beans and peas can now be started off in pots and leeks can be sown around the third week in January.
Jobs
Sort out your seeds, throwing away empty or out-of-date packets, noting down any to buy for the coming season.
Plan this year’s crop rotation to ensure you grow each type of crop in a different bed to the previous years.
Plant bare-root fruit bushes and canes into enriched soil, as long as the ground is not frozen.
Ensure netting is in place over brassicas, such as kale, Brussel sprouts and cabbages, to protect from pigeons.
Cover rhubarb plants with a bucket or terracotta pot to force an early crop of tender long stems
New fruit trees for our community veg plots.
We now have an apple tree of the ‘James Grieve’ variety, at the far side of car park at Reeth surgery. James Grieve is good as a cooking apple and eating apple, very juicy and produces plenty of sharp-tasting apple juice. It is a mid-season variety that is picked in early-mid September. At this stage it is pleasantly acidic and refreshing and if it is too sharp for eating it can be used for cooking. After a few weeks the flavour mellows and sweetens. The flesh is soft, somewhat like a firm pear in texture.
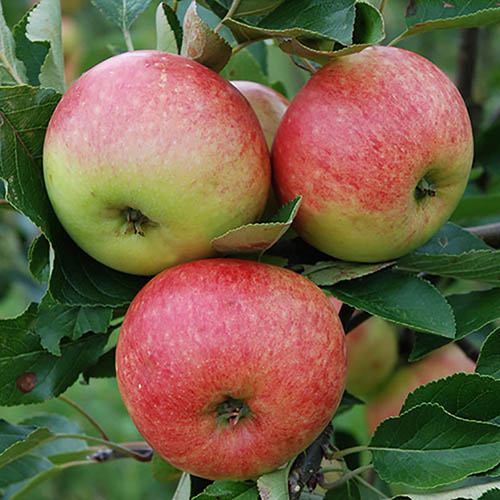
We also have a Victoria plum at the community orchard at Hudson House along the back (north) wall. It will be 4 to 6 years before we see fruit on the plum. A most reliable British bred garden variety delicious for both eating and cooking.
How to plant new fruit trees.
Pot grown fruit trees must be soaked well before planting and if the tree is bare-rooted remove the packaging and soak the roots in a bucket for a few hours. These roots must not be allowed to dry out at all.
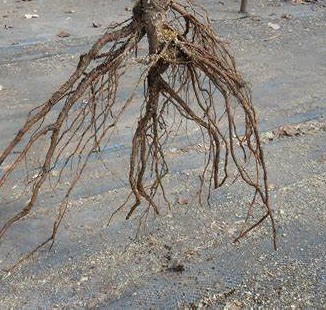
When planting a pot grown tree make sure that the tree is planted to the same depth as it was in its container with the graft union above the soil line. If the tree is dormant (i.e. you are planting during the winter and the tree has no leaves) you can strip the compost away from the roots, so that the tree is effectively a bare-root tree. This is particularly helpful for pot-grown plum trees, which can struggle if they are surrounded by too much compost. However if the tree has leaves or buds on it (i.e. you are planting during autumn or spring), do not disturb the root system within the compost. Instead, if the roots appear to be circling the root ball (which is a very common issue with container-grown trees) simply get a sharp knife and make 4-5 vertical scoring cuts 1cm or so into the root ball, which will encourage new root growth to spread outwards. Bare-root trees are best planted the same day as they arrive.
Dig the hole no deeper than the roots but about 3 times as wide as the root system. There is no benefit of putting organic matter under the root ball as this only rots and makes the tree sink over time. Once planted, a layer of organic material or mulch spread over the top will help slow down the weeds and grass, which would otherwise mean the tree would have to compete for water and nutrients. The best mulch material is well-rotted farmyard manure or compost but decorative gravel also works, spread to a distance of about 3ft. The mulch layer should be just deep enough to prevent light penetration, so about 1″ / 3cm. Unless you are in an area prone to water-logging, it is a good idea to create a little dip in the middle of the mulch so that water naturally flows towards the tree. Leave a gap of about 1″ / 3cm around the stem.
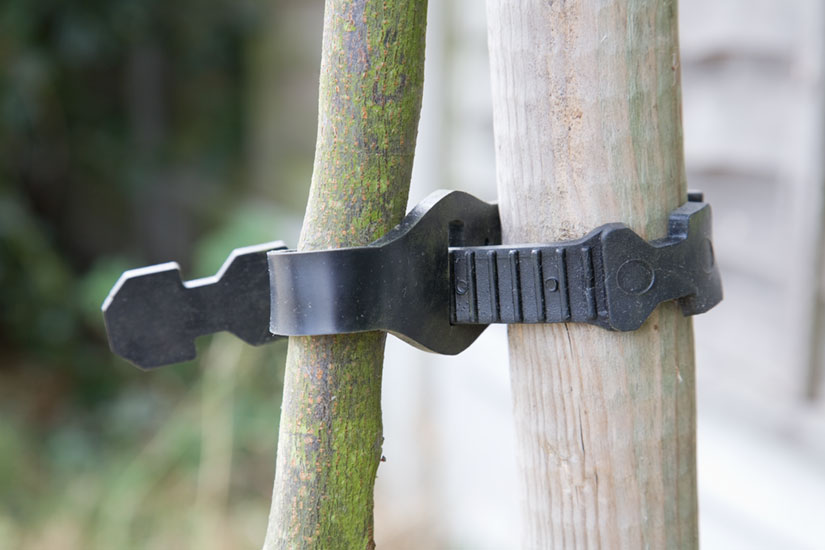
Remember to stake the tree, The action of the wind on the growing tree is what encourages it to thicken its trunk and eventually, after about 3 years the tree will become self-supporting.
The first spring is the key time for your new fruit tree, as it establishes itself in its new surroundings and so a general fertilizer in early spring before the tree starts to produce shoots is really beneficial. Young fruit trees mainly need Nitrogen but a Nitrogen / Phosphorus / Potassium mix is useful. This is important for bare-root trees, but optional for container-grown trees (since they already have adequate nutrients from the compost they came in).
Check your tree regularly to monitor the growth during the first spring and summer whilst it is getting established. Container-grown trees are prone to drying out if there is a dry spell, so make sure you tree is well-watered. After the first year the roots will have settled in and you don’t need to be quite as attentive.
If you have rabbits or deer or similar animals in the area, you must protect your new fruit trees. A tree guard or netting rolled around the trunk to about a foot in height will do. This was a hard lesson I learned one winter when I had not got around to protecting a batch of new trees and prolonged cold and frost with obviously little grass meant the rabbits looked elsewhere. My trees never properly recovered.